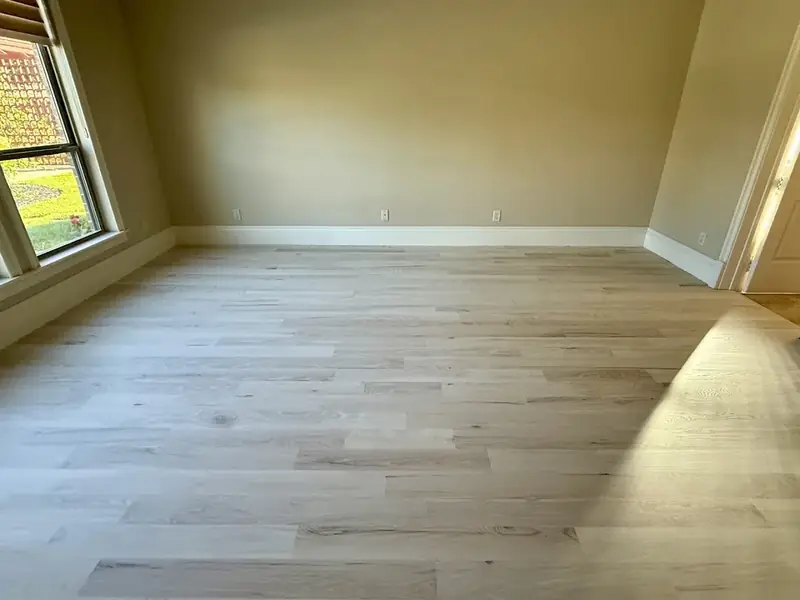
How to install hardwood flooring, in short: let the wood acclimate, make sure the subfloor is flat, dry and solid, snap a straight layout line, and leave an expansion gap at the walls. Face-nail the first rows, then blind-nail each board through the tongue, staggering the end joints. Finish with trim, transitions and, for unfinished wood, sanding and finish.
That's the whole job in one paragraph. The details below are what separate a floor that stays flat and quiet for decades from one that squeaks, gaps or cups in its first summer. This guide covers nail-down solid hardwood over a wood subfloor, the most common traditional install, and points out where other methods differ.
Tools and materials
- Pneumatic flooring nailer or stapler, with the cleats or staples the flooring maker specifies
- Finish nailer or drill for face-nailing the starter and last rows
- Miter saw, table saw and jamb saw for cuts and door casings
- Moisture meter for wood and subfloor
- Chalk line, tape measure, square and spacers
- Underlayment or felt paper approved for your floor
- Pry bar, tapping block and rubber mallet
- Dust mask, eye and ear protection, and knee pads
Before the first board: acclimation, subfloor and moisture
Wood swells when it takes on moisture and shrinks as it dries. If you install boards wetter or drier than your house, they'll move after they're nailed, and that's where gaps and cupping come from. Bring the flooring into the conditioned house with the AC or heat running normally. Then check it with a moisture meter instead of counting days. The wood and the subfloor should read close to each other, within the range the manufacturer gives.
The subfloor has to be flat, dry and firmly fastened. Screw down loose plywood, fix squeaks now, and sand or fill high and low spots to the flatness the flooring maker requires. If you're working over concrete instead of plywood, the prep and fastening are different. See our guide on installing hardwood over concrete.
Which direction to lay hardwood flooring
Over a wood subfloor, lay hardwood flooring across the floor joists. That's perpendicular to them, so each board spans several joists and the floor stays stiff. Within that rule, most installers run boards along the longest wall or toward the main entrance, because long, unbroken lines make a room look bigger. In hallways, boards usually run the length of the hall.
Step by step: how hardwood flooring is installed
1. Plan the layout and snap a line
Pick a straight starting wall, usually the longest outside wall. Measure out from it at both ends, allowing for the board width and the expansion gap, and snap a chalk line. Walls are rarely straight, so the line, not the wall, sets the first row.
2. Leave the expansion gap
Hardwood needs room to move with the seasons. Keep a gap around every wall, pipe and fixed object, usually close to the thickness of the flooring, or as the manufacturer specifies. Baseboard and shoe molding will cover it.
3. Face-nail the starter rows
The nailer can't reach the first rows against the wall, so set them along the line and fasten them through the face and the tongue. Countersink the face nails and fill them later.
4. Rack the boards
Before nailing, lay out several rows loose, mixing lengths and boxes so color and grain blend. Stagger end joints so no two line up across neighboring rows. A common rule of thumb is at least 6 inches apart, or more for long boards. Avoid repeating patterns.
5. Blind-nail the field
Fasten each board through the tongue with the flooring nailer, keeping rows tight with a tapping block. For standard 3/4 inch solid hardwood, installers usually use 2 inch cleats spaced every 8 to 10 inches, with one close to each board end. Your flooring maker's installation instructions are the final word on fastener size and spacing, backed by the National Wood Flooring Association's installation guidelines.
6. Work around doorways and vents
Undercut door casings with a jamb saw so the boards slide under rather than butting up against them. Cut floor vent openings with a jigsaw, and plan transitions to tile or carpet before you reach them.
7. Finish the last rows
Near the far wall, the nailer won't fit again. Rip the last row to width, keep the expansion gap, pull it tight with a pry bar and face-nail it.
8. Transitions, trim and finish
Install thresholds, stair nosing and reducers, then put the baseboard and shoe molding back. Prefinished wood is done at this point. Unfinished wood gets sanded flat, stained if you like, and coated with finish.
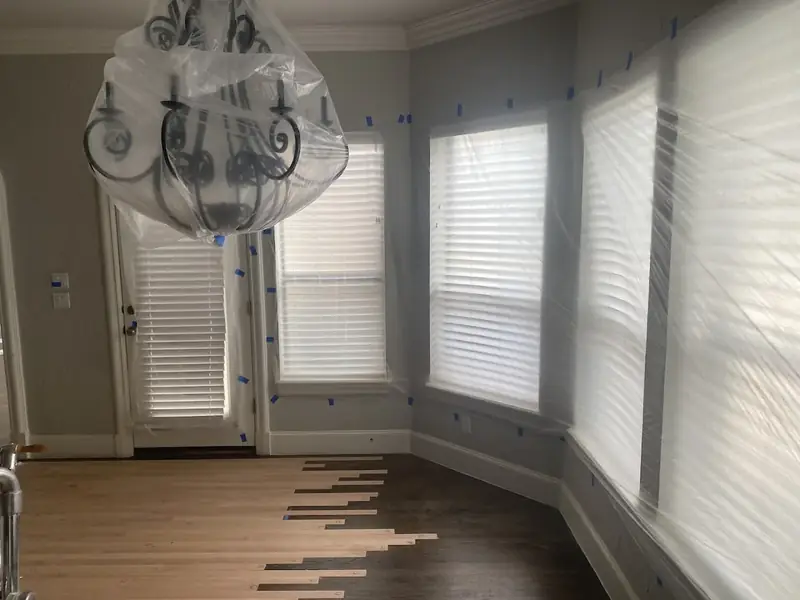
Nail-down, glue-down or floating
| Method | Usual subfloor | Usual product |
|---|---|---|
| Nail-down | Plywood or OSB | Solid hardwood, some engineered |
| Glue-down | Concrete slab, or plywood | Engineered hardwood |
| Floating | Almost anything flat, over underlayment | Click or edge-glued engineered |
Mistakes that make new floors fail
- Skipping acclimation and moisture checks. Boards installed too dry open gaps, and boards installed too wet cup.
- No expansion gap. The floor has nowhere to go in humid months and buckles.
- Ignoring subfloor flatness. Dips and humps cause bounce, squeaks and hollow spots.
- End joints too close together. Clustered or stair-stepped joints look patchy and weaken the floor.
- Wrong fasteners or spacing. Too few nails let boards move and squeak, and the wrong size can split tongues.
Is it worth installing hardwood yourself?
It can be, for a confident DIYer with the right tools, a small room and a plywood subfloor in good shape. It's harder to justify across several rooms, over a slab, around stairs, or with unfinished wood that needs sanding afterward. Mistakes there show up months later, when they're expensive to undo. If you'd rather have it done, see our professional hardwood floor installation.
Want it installed right the first time? We'll check your subfloor, recommend a method and give you a written price.